Nail Polish Remover Gel Manicure Guide
Removing Gel Manicures Safely and Effectively: Nail Polish Remover Gel Manicure

Source: ebayimg.com
Nail polish remover gel manicure – Gel manicures offer long-lasting, high-shine results, but removing them requires careful attention to avoid damaging your natural nails. This guide details safe and effective methods for removing gel polish at home, comparing at-home techniques with professional salon services, and offering tips for maintaining healthy nails.
Gel Manicure Removal Process
Removing a gel manicure at home involves several steps to ensure efficient and safe removal. Improper removal can lead to damage, including thinning, peeling, and even infection. Comparing at-home methods to professional salon techniques highlights the importance of careful execution.
| Step | Description | Materials | Precautions |
|---|---|---|---|
| 1. Preparation | Cleanse nails, removing any loose polish or debris. Gently buff the top layer of the gel polish to create tiny fissures, allowing the remover to penetrate more effectively. | Nail brush, fine-grit buffer | Avoid excessive buffing, which can thin the nail plate. |
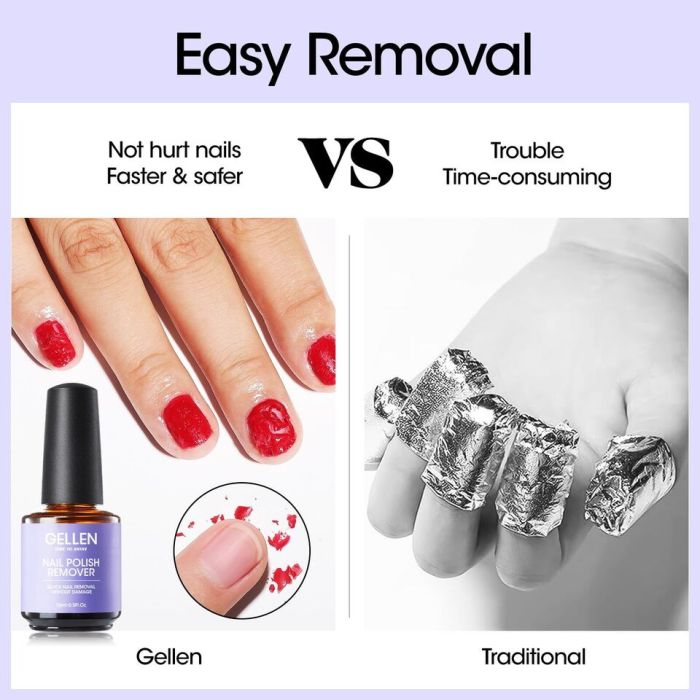
| 2. Soaking | Saturate cotton pads with acetone-based nail polish remover and place them on each nail, securing them with aluminum foil. Allow them to soak for 10-15 minutes, or until the gel polish softens. | Acetone-based nail polish remover, cotton pads, aluminum foil | Avoid prolonged soaking, as this can dry out and weaken nails. |
| 3. Removal | Gently push and scrape off the softened gel polish using a cuticle pusher or orangewood stick. Avoid pulling or forcing the polish off, as this can damage the nail. | Cuticle pusher or orangewood stick | Be patient and gentle; avoid aggressive scraping. |
| 4. Clean Up | Once all the gel polish is removed, wash your hands thoroughly and moisturize your nails and cuticles. | Mild soap, cuticle oil or moisturizer | Avoid harsh soaps or abrasive cleaners. |
Professional salon removal often involves specialized tools and techniques that minimize damage, but at-home methods, when performed correctly, can yield similar results. However, improper at-home removal can lead to significant nail damage, including peeling, brittleness, and infections from introduced bacteria.
Nail Polish Remover Types and Their Effectiveness
Acetone-based and acetone-free removers differ significantly in their effectiveness on gel manicures. Understanding their advantages and disadvantages is crucial for choosing the right product and minimizing nail damage.
| Remover Type | Pros | Cons |
|---|---|---|
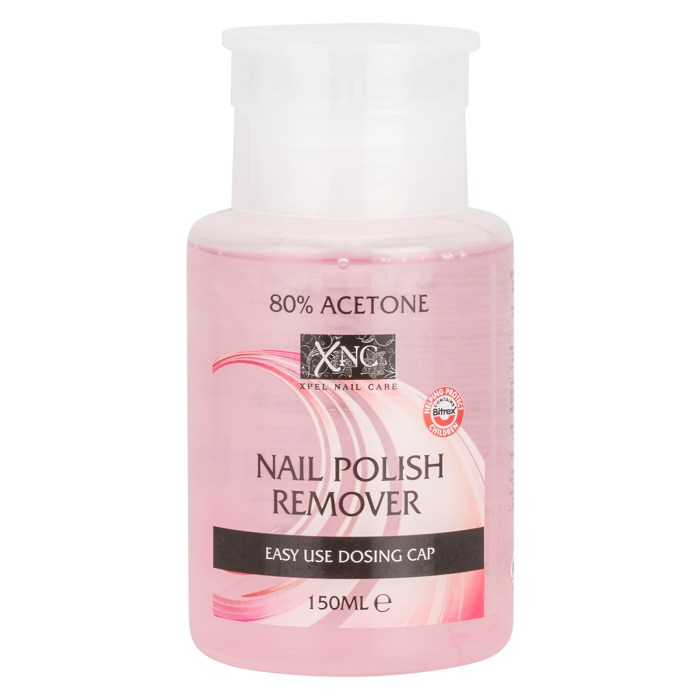
| Acetone-based | Faster removal, more effective on gel polish | Can dry out nails and skin, strong odor |
| Acetone-free | Gentler on nails and skin, less harsh odor | Slower removal, may require multiple applications |
Acetone’s effectiveness stems from its ability to quickly dissolve the gel polish. However, its drying properties can compromise nail health. Acetone-free removers, often using alternative solvents, are gentler but may require longer soaking times. The choice depends on individual nail sensitivity and time constraints.
Product Recommendations and Reviews, Nail polish remover gel manicure

Source: co.uk
Several nail polish removers are specifically formulated for gel manicures. This section provides reviews of three popular options, highlighting their key features and user experiences. Remember that individual experiences may vary.
- Product A: Known for its fast-acting formula and minimal nail dryness. User reviews praise its effectiveness and ease of use. Average rating: 4.5 stars.
- Product B: An acetone-free option favored for its gentle formula and pleasant scent. Users appreciate its nail-health-conscious approach, but some report longer removal times. Average rating: 4 stars.
- Product C: A professional-grade remover that combines speed and gentleness. Users highlight its effectiveness and minimal odor. Average rating: 4.8 stars.
Proper application involves saturating cotton pads completely, ensuring complete contact with the gel polish, and replacing soaked pads if necessary to maintain saturation.
Maintaining Nail Health After Removal
Post-removal nail care is crucial for restoring and maintaining nail health. A consistent routine promotes strong, healthy nails and minimizes the risk of future problems.
A recommended weekly nail care routine includes:
- Moisturizing: Apply cuticle oil daily to hydrate and protect the cuticles.
- Strengthening: Use a nail strengthener to prevent breakage and promote growth.
- Cuticle Care: Gently push back cuticles to prevent ingrown nails and maintain a clean nail bed.
Common nail problems after gel removal include dryness, brittleness, and peeling. Addressing these issues promptly with proper hydration and strengthening treatments can prevent further damage.
Alternatives to Acetone-Based Removers

Source: hammacher.com
For individuals sensitive to acetone, several alternatives exist for removing gel manicures. These methods may be less effective but offer a gentler approach.
| Method | Description |
|---|---|
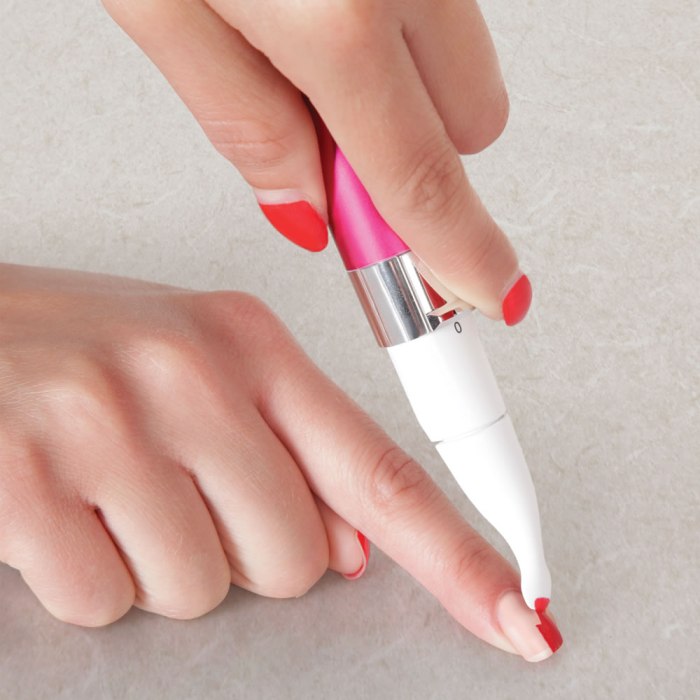
| Electric E-file | Uses a specialized tool to carefully file away the gel polish. Requires skill and caution to avoid damaging the natural nail. |
| Soaking with Acetone-Free Remover and Oil | Combining an acetone-free remover with nourishing oils can soften the gel while protecting the nails. This method is slower but gentler. |
While these alternatives minimize acetone exposure, they may require more time and effort compared to acetone-based removers. Effectiveness varies depending on the gel polish’s formulation and the individual’s technique.
Preventing Nail Damage During Removal
Minimizing nail damage during removal requires careful attention to technique and tool selection. Proper soaking times and gentle manipulation are key to preserving nail health.
Removing gel manicures requires acetone-based nail polish remover, which can be messy. Efficient organization of your nail polish collection is key to managing this process smoothly. For helpful tips on streamlining your nail polish storage, check out this guide on nail polish organisation to keep everything neat and easily accessible, making post-gel manicure cleanup much simpler.
Proper organization minimizes spills and keeps your remover readily available for future gel manicure removals.
Tips for minimizing nail damage include:
- Using a fine-grit buffer to gently roughen the gel surface before soaking.
- Avoiding excessive soaking to prevent over-drying of the nails.
- Using a gentle cuticle pusher or orangewood stick to remove softened gel.
- Immediately moisturizing nails after removal to prevent dryness.
Signs of nail damage include peeling, thinning, brittleness, and discoloration. Addressing these issues promptly with proper nail care can prevent further complications.
Q&A
Can I reuse the same nail polish remover multiple times?
No, it’s best to use fresh remover each time for optimal effectiveness and to avoid potentially transferring bacteria or contaminants to your nails.
How often should I remove my gel manicure?
It’s recommended to remove your gel manicure every 2-3 weeks to allow your nails to breathe and prevent potential damage from prolonged exposure to the product.
What are the signs of nail damage after gel removal?
Signs include thinning, brittleness, peeling, discoloration, or increased sensitivity. If you notice these, prioritize intensive nail care.
Is it okay to file down the gel polish before soaking?
While some recommend this, it increases the risk of damaging your natural nails. Soaking is generally a safer method.


